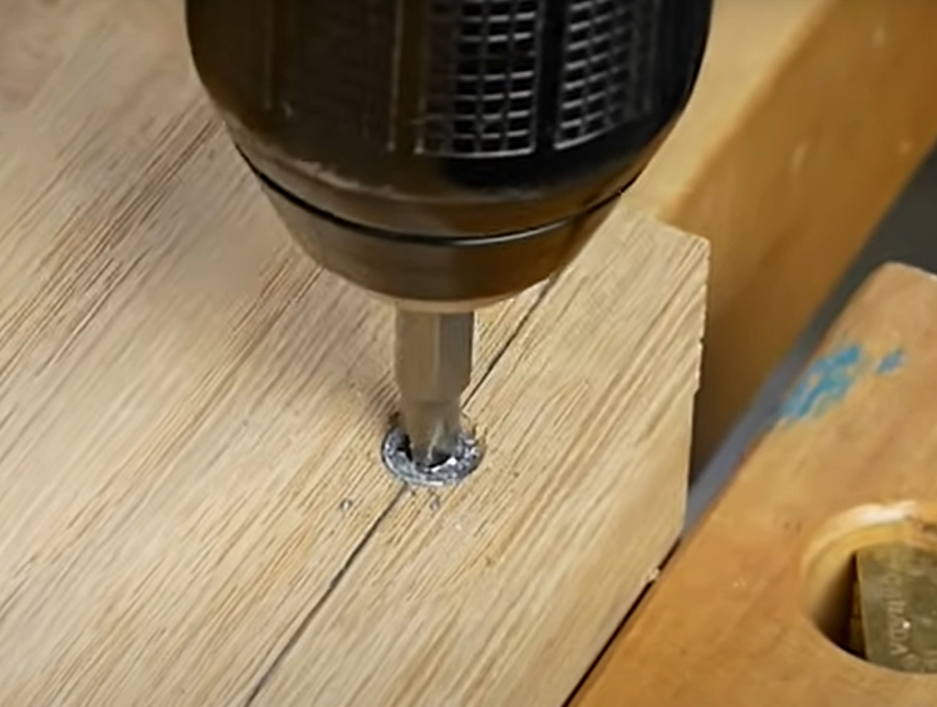
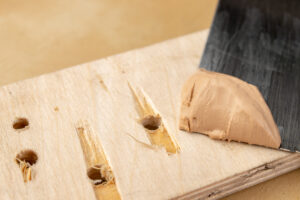
To remove a stripped screw, try these four effective techniques: 1) Use a strong rubber band over the screw head for added grip; 2) Cut a new slot with a rotary tool for a flat-head screwdriver; 3) Drill a small hole and use a screw extractor; 4) Employ left-handed drill bits that turn counterclockwise. These methods offer practical solutions to tackle stripped screws in various DIY and home repair scenarios.
Stripped screws can be a real headache in any DIY project or home repair. But don’t worry, removing a stripped screw is a skill you can easily master. This guide is packed with tips and techniques to help you tackle this common problem, ensuring that a stripped screw won’t slow you down again.
Effective Techniques for Stripped Screw Removal
The Rubber Band Method: This is a neat little trick. Just place a strong rubber band over the head of the stripped screw, then press your screwdriver into it. The rubber band fills in the gaps, giving your screwdriver something to grip onto.
Using a Rotary Tool: If you’re up for a bit more of a hands-on approach, you can use a rotary tool to cut a new slot into the screw head. This only works if you have room enough to get the Dremel properly oriented. Then, you can use a flat-head screwdriver to get it out.
Screw Extractor Sets: These tools are made for this job. You drill a small hole into the head of the stripped screw, then use the extractor to pull it out.
Left-Handed Drill Bits: These bits turn counterclockwise, which is just what you need for removing screws. They’re especially handy for this kind of work.
Preventing Stripped Screws
Knowing how to remove a stripped screw is great, but stopping it from happening in the first place is really important. Most stripped screws happen when using a cordless drill. Cordless drills are one of the most common and most useful tools any homeowner should have, but you need a little practice in using one.
First, make sure you have a Good Quality Cordless Drill. When using it to drive screws, the process is simple, but there’s a few tips to ensure your not stripping a screw. First, Make sure you are in a good stable position where you will be able to apply a decent amount of pressure on the screw. Then place the drill on a low slow speed setting and gradually pull the trigger to slowly start driving the screw. Finally, and here’s the secret, make sure the drill bit is aligned perfectly with the angle of the screw – meaning its straight on screw. If you tip the drill even slightly to create even a slight angle from being straight on the screw, the drive bit will spin and strip the screw, and possibly your driver bit.
Use the Correct Driver Bit:
Phillips Head Screws:
If your using a Phillips Head Screw, make sure you have the correct size driver bit. Here’s a list of the different size phillips head driver bits and the common uses:
- #000: This is a very small size, typically used for precision work such as electronics repair.
- #00: Also used for precision tasks, slightly larger than #000, common in small electronic devices like smartphones.
- #0: A small size used for tasks requiring fine precision, such as repairing eyeglasses or intricate electronics.
- #1: This size is often used for precision work in electronics, but it’s slightly larger and more versatile than #0.
- #2: This is the most common size for general-purpose use. It fits a wide range of screw sizes and is commonly used in woodworking, construction, and general home repair.
- #3: This size is larger and is typically used for heavy-duty screws found in construction or industrial applications.
- #4: This is a less common size, used for very large screws, often in industrial or heavy construction contexts.
Torx Screws:
For most jobs around the house, I have become a huge fan of Torx screws, sometimes referred to as star screws because of their start shaped six point pattern. I find these to be much more forgiving than phillips head screws and they do not strip as easily. However, the same holds true for having the right size driver bit. In the case of Torx, there are more sizes. Here’s a list of Torx size driver bits and their common uses:
- T3: This is a very small size, often used in precision devices like cell phones, laptops, and other electronic gadgets.
- T4: Slightly larger than T3, this size is also used in electronic devices, particularly for assembling components in smartphones and laptops.
- T5: Commonly found in laptops and smaller electronic devices. It’s used for components that require a secure fit but not a lot of torque.
- T6: This size is frequently used in computer and electronics repair, especially for hard drives, CPU fans, and other internal components.
- T7: Less common in consumer electronics, T7 screws might be found in some specialized equipment or larger electronic devices.
- T8: Often used in automotive applications, computer cases, and for assembling larger electronic devices. It’s also common in security applications due to its tamper-resistant variant.
- T9: Similar to T8, it’s used in automotive and electronic applications where a slightly larger screw is needed.
- T10: This size is frequently used in automotive, motorcycle, and bicycle repairs. It’s also found in computer systems and larger electronic appliances.
- T15: Common in automotive, particularly in European cars, and used in construction for metal-to-metal fastening.
- T20: Often used in construction for wood framing and in automotive applications. It’s a common size for deck screws and other larger fasteners.
- T25: Widely used in construction, particularly for decking and roofing. Also found in automotive and heavy equipment.
- T30: A larger size used in construction for heavy-duty fastening, and in automotive for engine components.
- T40: Common in industrial applications, heavy machinery, and automotive, especially for suspension and brake systems.
- T45 and above (T50, T55, etc.): These larger sizes are typically used in heavy industrial applications, automotive (like truck and heavy equipment repairs), and construction for structural components.
Having the right tools is key. Apart from the methods I’ve mentioned, needle-nose pliers can be really useful, especially if the screw sticks out a bit. They let you grab the head of the screw and twist it out.
Reusing a Stripped Screw?
So you’ve got the screw out, and now you’re wondering if you can use it again. If the threads are still good and the damage isn’t too bad, you might be tempted to reuse it for something that’s not too important. But don’t for the best safety and performance, it’s usually better to just replace it with a new one.
Staying Safe
Safety is super important. Always wear protective gloves and make sure your workspace is tidy and free of clutter. Using well-maintained tools and taking your time can also help prevent accidents.
Wrapping It Up
So there you have it – everything you need to know about how to remove a stripped screw. With the right approach and tools, you can handle this challenge like a pro, making your DIY projects and repairs a lot smoother. Keep up with the latest tips and tools, and you’ll be tackling these issues with ease.
This is one of the many tricks and tips you should know as a homeowner. Check our my post on Homeowner Essentials: Must Know Tips for all Homeowners.


