While traditional wood stains are ineffective on metal due to their liquid nature and need for absorption, gel stains offer a versatile solution. Gel stains, with their thicker consistency, can adhere to metal surfaces, providing a rich color and the ability to create a wood-like appearance. For best results, prepare the metal surface with cleaning and light sanding, apply a base coat of primer, and use gel stains for a durable and attractive finish.
Ever wondered if wood stain could work on metal surfaces? The answer is a “qualified yes”. Well, may be a little bit of a trick question. Traditional wood stains absolutely will NOT work on metal, however, there’s a thicker, more versatile player in the game: gel stains.
In this article, I’ll dive into why regular wood stains fall short on metal and how gel stains, which will work on both wood and metal rise to the occasion. Plus, I’ll share some tips on applying these to metal surfaces. If you’re on the hunt for a paint alternative that offers subtle, semi-transparent tones, stick around—you might just find gel stains to be your new go-to for metal projects.
Why Traditional Wood Stains Don’t Work on Metal
When tackling a metal finishing project, it’s important to understand the limitations of traditional wood stains. Most of these stains are liquid-based and require absorption into the material to be effective. You may have some leftover wood stain and want to use it on a metal surface, but these stains are designed to penetrate the porous fibers of wood. Metal, by its nature, is non-porous and impenetrable.
Low viscosity is another feature of conventional wood stains that poses a significant challenge when applied to metal. Because these stains are meant to soak into wood, they’re too thin to adhere to slick metal surfaces. This results in an uneven application that lacks the rich color and protective qualities that wood stains normally provide on their intended surfaces. Simply put, traditional wood stains will drip off or pool on metal, they just won’t work.
In contrast, gel stains are manifestly thicker and have been specially formulated to be more versatile. Their consistency allows them to stay in place on a variety of surfaces, including metal, without running or pooling. This distinction in composition reveals why gel stains can accommodate the density of metal, whereas traditional wood stains cannot.
Moreover, traditional liquid stains are ineffective at creating the desired aesthetic on metal. Wood stains enhance the natural grain of wood, a characteristic that is absent in metal. While a gel stain can mimic wood grain on metal, a liquid wood stain won’t provide any such effect. It’s essential to select a product that’s not only suitable for the material but also capable of achieving the visual appeal you’re aiming for.
In my opinion, opting for a gel stain that is explicitly intended for use on multiple surfaces, including metal, opens up new options for those looking to add a touch of wood-like detail to their metalwork. By understanding the inherent properties of traditional wood stains, it becomes clear why they fall short when faced with the task of beautifying or protecting metal objects.
Gel Stains: The Versatile Solution for Metal Surfaces
Gel stains stand out as a versatile solution, especially when working with non-porous materials such as metal. Unlike traditional wood stains that are thinly liquid and must penetrate to impart color and protection, gel stains are designed with a thicker consistency. What sets them apart is their ability to sit atop surfaces, including those where absorption isn’t possible.
Many homeowners and DIY enthusiasts find themselves at a crossroads when attempting to enhance the appearance of metal. That’s where gel stains make a definitive mark. Their formulation allows for even application on smooth surfaces, which is what you are aiming for on a metal door or any metal surface.
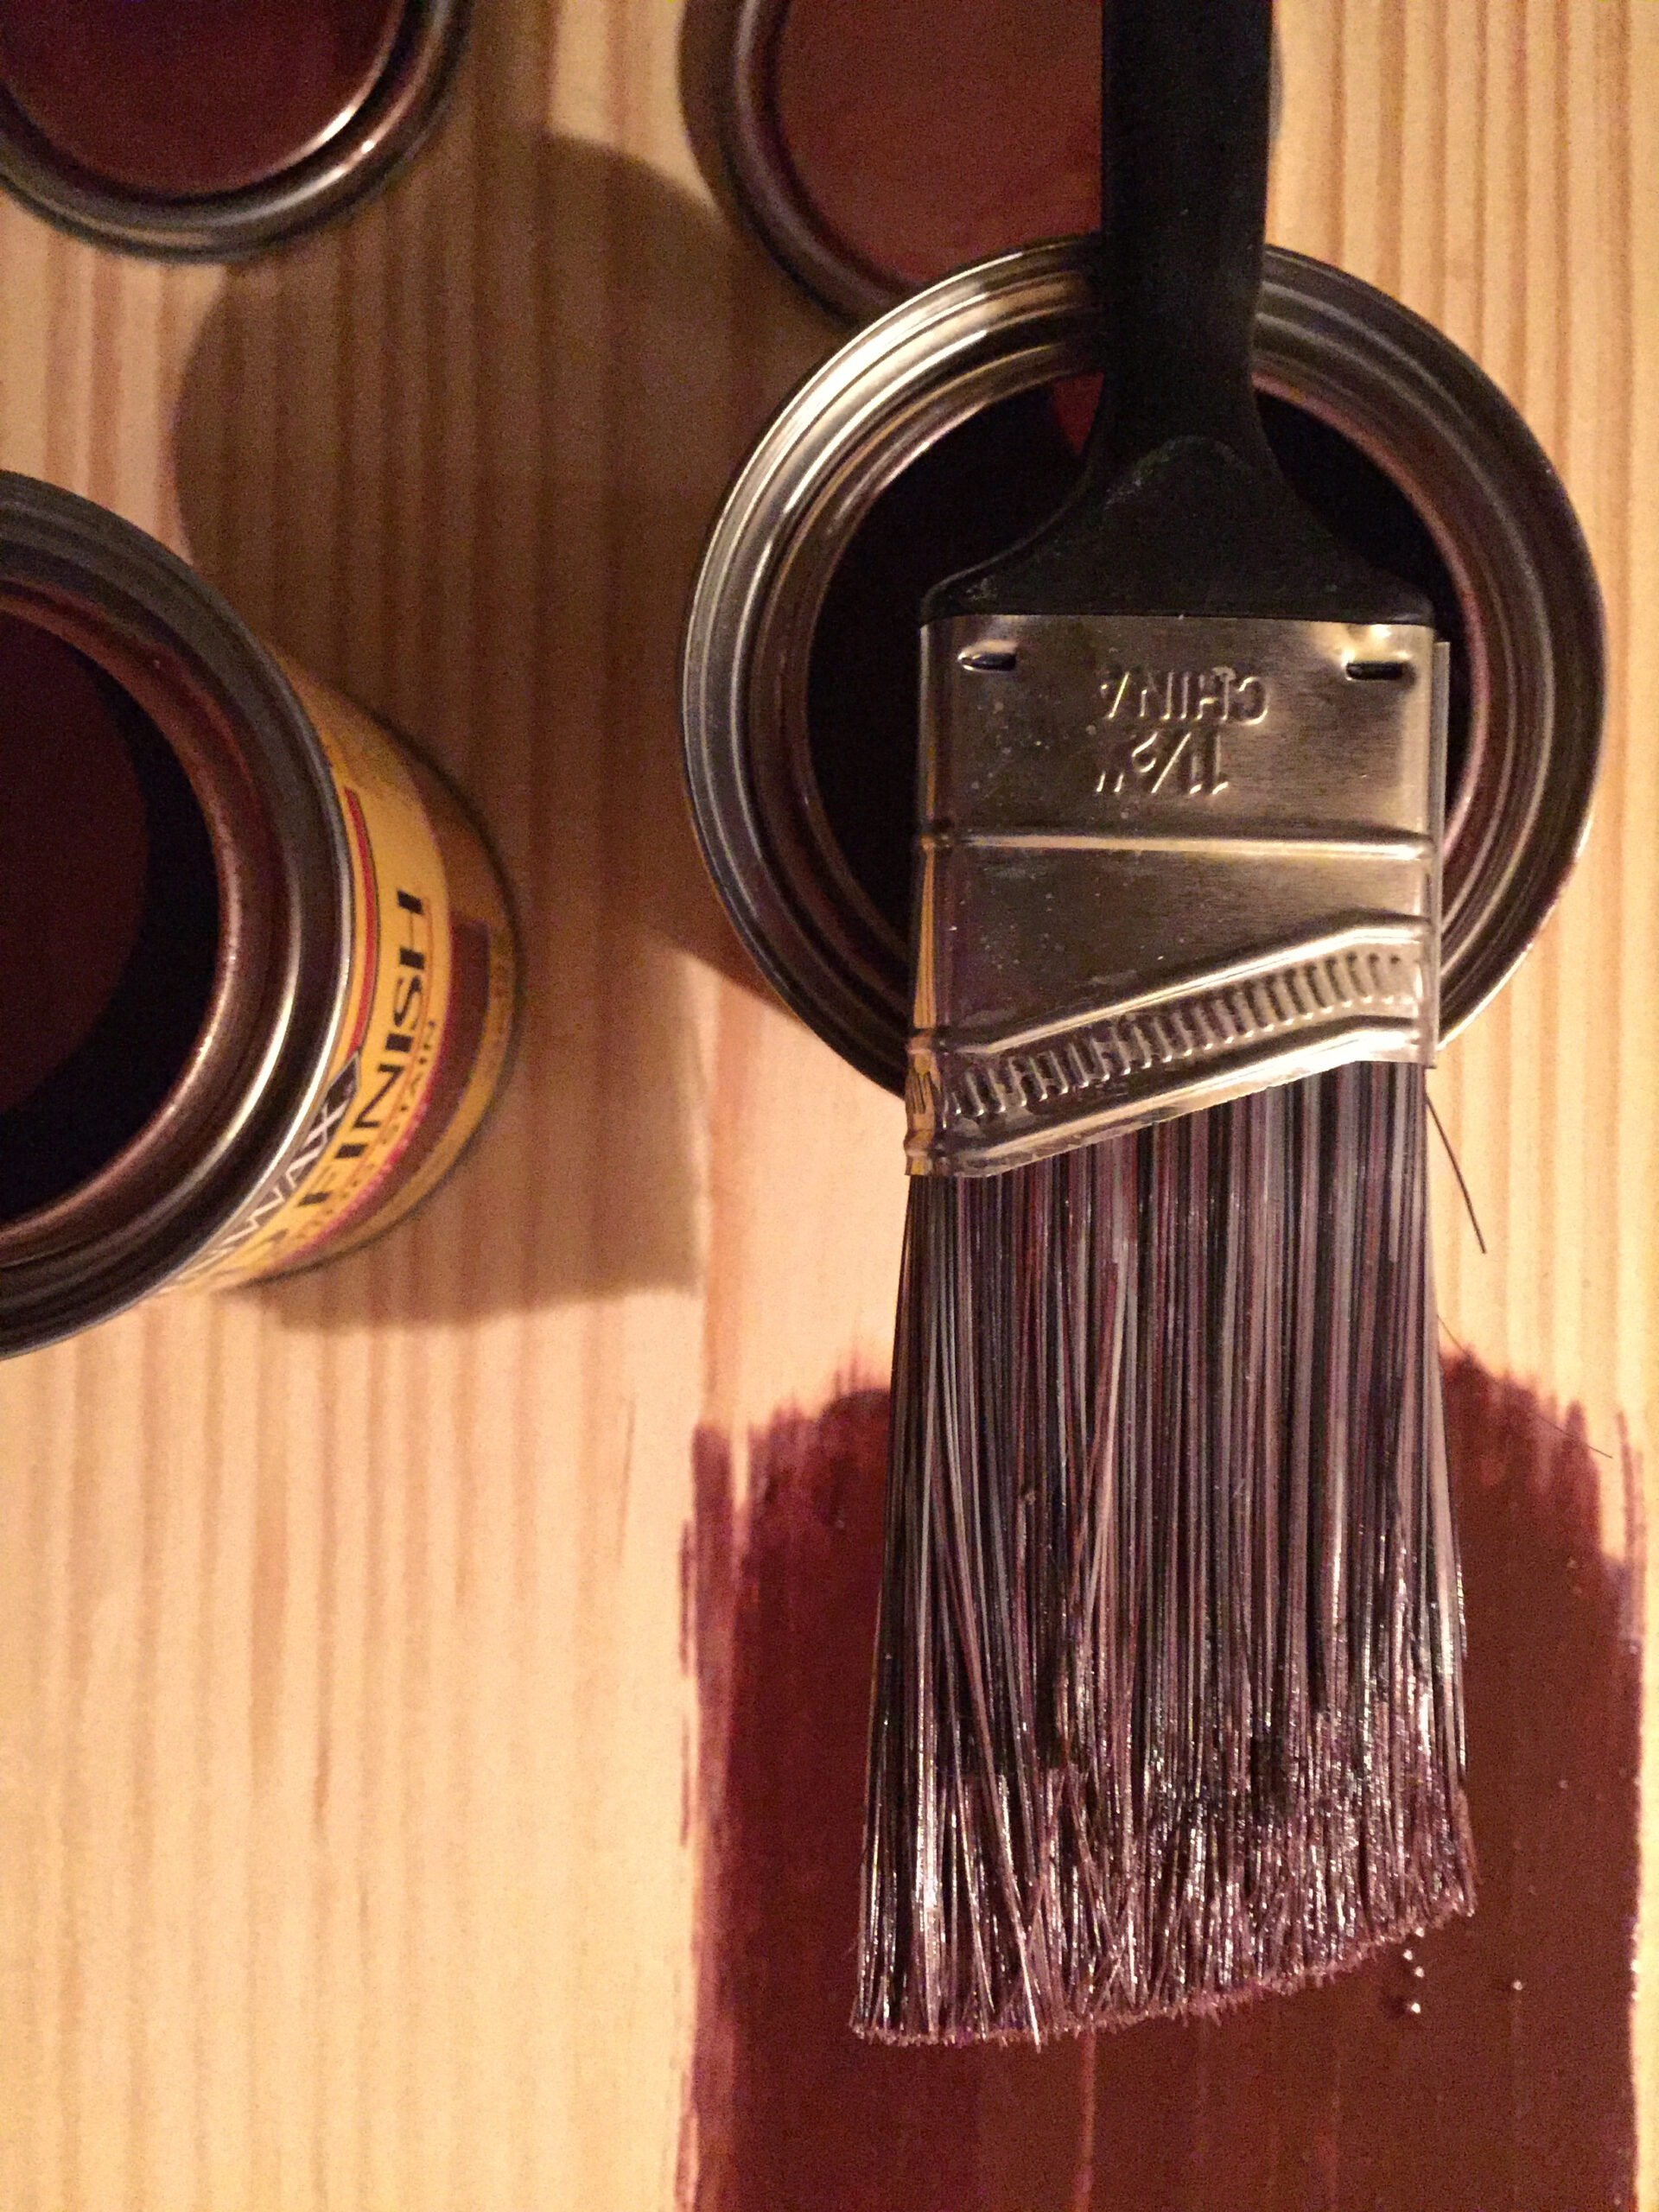
Preparing to apply gel stain to metal involves gathering specific materials to ensure the job is done properly. You’ll need a good-quality paint roller for broad strokes and a wedge paint brush for detailed work. Mixing containers, protective gloves, and cleaning supplies such as vinegar, clean rags, and steel wool are also essential to your supply list. Also lay out a drop cloth to protect your work area from drips and accidental spills.
Each swipe of the brush brings you closer to that desired outcome: a beautifully stained metal piece that defies convention and showcases the robust capabilities of gel-based colorants.
Benefits of Using Gel Stains on Metal
Semi-transparent tones are one of the standout benefits of opting for gel stains over paint. These tones can add an extra layer of depth and warmth to metal, bringing out its texture and inherent character. Moreover, they offer an aesthetic that paints can’t replicate—simulating wood grain on metal surfaces for a natural and sophisticated look.
Versatility is another advantage of gel stains. Brands like Old Masters have developed gel stains that are not only suited for metal but also effective on wood and fiberglass. This cross-material compatibility means you can achieve a consistent finish across different types of surfaces in your home or project space, creating a cohesive and polished appearance.
Durability also comes into play with gel stains. Their robust formula tends to withstand the tests of time and use, meaning my metal surfaces maintain their color and finish longer than they might with other products. Being less prone to fading and wear, they serve as both an aesthetic and practical solution for metal staining projects.
How to Apply Gel Stains to Metal Surfaces
When I’m exploring options to spruce up metal surfaces, gel stains are my go-to for a seamless and sophisticated finish. Applying gel stain to a metal surface is not just about brushing it on; it’s an art that involves proper preparation, application, and finishing techniques.
Preparation is critical. I always begin by cleaning the metal surface thoroughly to remove any grease, rust, or debris, because a clean surface ensures better stain adherence. I’ll use fine-grit sandpaper to lightly scuff the surface, allowing the gel stain to grip onto the metal better. Wipe down the sanding residue with a damp cloth, and let it dry. It’s crucial to have a clean surface, so the gel stain can bond well and provide an even finish.
Apply a base coat of paint to help receive the paint. Use an interior/exterior primer such as Kilz Premier Primer. When priming, make sure you use a primer that is a lighter color than your stain. Use a brush to apply the primer, starting with in-set surfaces first.
As for the stain application, I prefer using an inexpensive brush to apply gel stains. The technique is gentle and steady and the brush will add a wood grain appearance. Work in relatively small sections, then wipe gently with a soft cloth to work the stain in. If I’m looking for a more solid look rather than a brushed appearance, a foam brush might work better. Again, It’s important to work in manageable sections, especially on large metal pieces, to maintain a consistent look.
Layering and Drying Times: Gel stains have a higher viscosity than wood stains, which means they don’t drip or run as much as their thinner counterparts. But that doesn’t mean they’ll set immediately. Always check the manufacturer’s recommended drying times, which can vary. If I’m seeking deeper coloration, applying multiple thin layers usually does the trick. Each layer should be allowed to dry before applying the next one. Patience here really pays off in depth and vibrancy.
Final touches often involve sealing the stain with a clear protective coat. This sealant safeguards the stained metal against the elements and wear, extending the life of the stain and retaining its appearance. It’s a step that shouldn’t be skipped, especially for metal items that may face high traffic or outdoor conditions.
Remember, practice makes perfect. I recommend doing a test patch on a small, inconspicuous area to evaluate the color and ensure you’re satisfied with the final look before taking on the whole project.
Tips and Tricks for Achieving the Perfect Finish
Achieving a flawless wood stain finish on metal requires a bit of finesse and some insider knowledge. Over the years, I’ve discovered a few key tips that can make all the difference to your project. Let’s delve into these tricks to ensure your finish is as smooth and wood-like as possible.
Firstly, preparation is critical. I can’t stress enough how important it is to begin with a clean metal surface. Using a degreasing dish soap mixed with water works wonders to remove any contaminants. Be thorough when you clean, and don’t shy away from exerting a little elbow grease if necessary. Once clean, a light sanding helps the base coat adhere better. Afterward, wiping the metal with a damp rag and allowing it to dry preps it for the next step.
When applying the gel stain, use a soft cloth for an even grain coat. Patience is your friend here; work slowly and maintain consistent speed and pressure. If you’re aiming for a natural wood look, consider using a wood grain tool. This can add texture and depth that mimics real grain. Don’t be deterred by mistakes—they’re part of the learning curve. Errors can be easily fixed by reapplying the stain and starting the graining process anew.
For a more complex wood grain effect, incorporating a second stain color can add dimension. Use varying amounts based on the visual style you’re aiming for. Remember, there’s no need to sand between coats as this would disrupt the faux wood pattern you’re working hard to achieve.
Layering for Depth
Layering is an effective way to achieve depth in your wood stain. Each layer should be thin and uniform, ensuring you’re mixing the stain thoroughly before each application. By avoiding thick coats, you prevent unwarranted drips and uneven textures. For a richer coloration and a more dynamic wood effect, applying multiple tone coats can be beneficial. Always wipe in the direction of the grain pattern to maintain a consistent look.
Conclusion
I’ve walked you through the transformative power of gel stains on metal, a technique that can elevate your metal projects with the rich, warm look of wood. Remember, it’s all about the prep work and those thin, even layers. By following the steps I’ve shared, you’ll master the art of applying gel stain to metal, ensuring a finish that’s both impressive and lasting. Don’t forget to test your approach first to guarantee the end result is exactly what you’re aiming for. Armed with these insights, you’re now ready to tackle your next project with confidence and create a stunning piece that stands out. Happy staining!
Frequently Asked Questions
What are the benefits of using gel stains on metal?
Gel stains adhere well to metal surfaces, providing a rich color that can emulate the look of wood or enhance the metal’s appearance with an even finish. They’re also versatile for creating complex grain effects and layers for depth.
How should metal be prepared before applying gel stain?
To prepare metal for gel staining, clean the surface thoroughly to remove any paint, dirt or grease, and lightly sand it to create a surface that allows better adherence of the stain.
What tools are recommended for applying gel stain to metal?
A soft cloth is recommended for applying an even coat of gel stain. For creating a natural wood look, consider using a wood grain tool. Use brushes and rollers as needed for detailed and flat areas, respectively.
Can gel stain be layered on metal surfaces?
Yes, layering gel stain on metal surfaces is essential to achieve depth. Apply thin, uniform layers, mixing the stain before each application and wiping in the direction of the grain pattern for the best results.
What is the recommended drying time between gel stain layers on metal?
Allow the first coat of gel stain to dry for approximately 6 to 8 hours under ideal conditions. Additional color depth can be achieved with a second coat after the first one is sufficiently dry.
Is a test patch necessary before staining the entire metal surface?
Yes, it is highly recommended to do a test patch before applying gel stain to the entire metal project. This ensures satisfaction with the color and technique before committing to the whole surface.
Can you achieve a natural wood look on metal with gel stains?
Yes, by using techniques like a wood grain tool or specific painting methods, you can create a realistic wood grain effect on metal surfaces with gel stains.