Introduction:
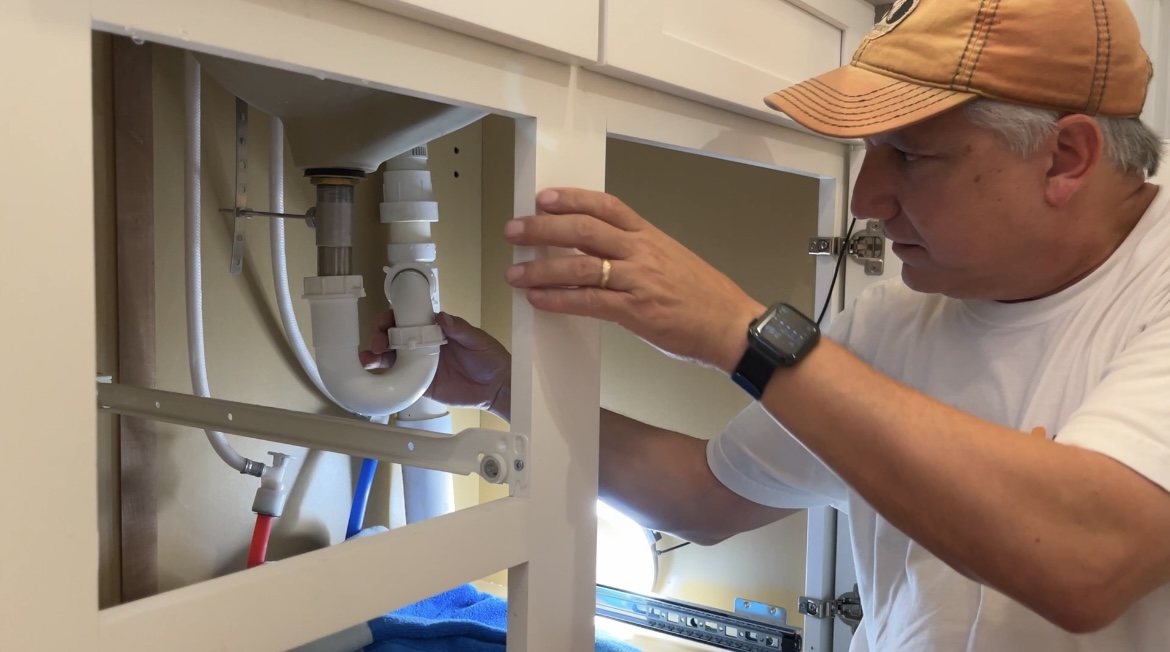
Slow draining sinks can be annoying. KC and I put together a short video to go along with this post showing you step by step how to fix a slow draining bathroom sink.
3 Potential Causes for a Slow Draining Bathroom Sink:
1) A plugged Drain
Over time, bathroom sinks in particular tend to plug up with hair and soap residue.
2) Stopper Not Working Properly
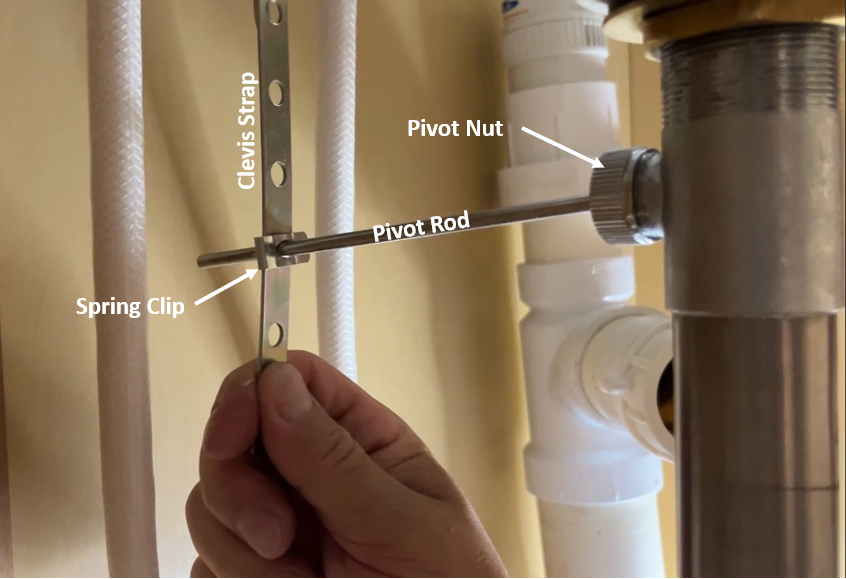
The stopper itself is a disk or plug that fits into the drain opening. It can be made of metal or plastic and is attached to a horizontal rod called the pivot rod. The pivot rod is connected to a Clevis Strap via a spring clip which is connected to a vertical control rod by a clevis nut that protrudes up through sink top to a control knob behind the faucets. Moving this control rod/clevis strap up and down, lifts and lowers the pivot rod, which in turn moves the stopper up and down. If the vertical control rod slips because of a loose clevis nut, the stopper may not move up and down far enough which could causa slow draining sink.
3) Improper Venting:
If the sink isn’t properly vented to the vent stack of the house, the sink will drain slowly. This is typically not the case in a newer home. If this is the issue, it’s probably an older home, or a bathroom plumbing project done incorrectly by a DIY’er.
How to Fix the Slow Draining Sink
Try to Plunge it:
First and easiest fix is to try and simply plunge it. Close the stopper and let the sink fill enough so it covers most of the plunger to create a water seal over the drain. Turn off the water and open the stopper. Start plunging by depressing the plunger slowly so you don’t splash water everywhere. As you plunge down you will feel the water seal as the plunger is depressed forcing water down the drain. Continue plunging up and down without letting the plunger come off of the sink bottom keeping the water seal. If there is a plug that is moveable, you should start to see debris floating in the water. Once you feel you have the plug removed, remove the plunger and see if the sink drains fast enough.
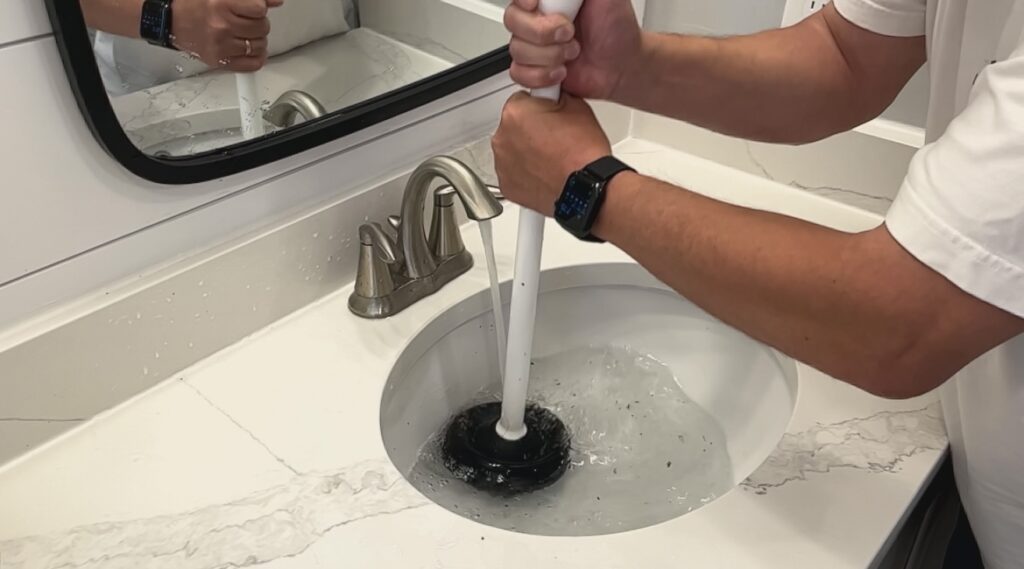
Here’s the plunger we used in the video – the holder is great for a bathroom!
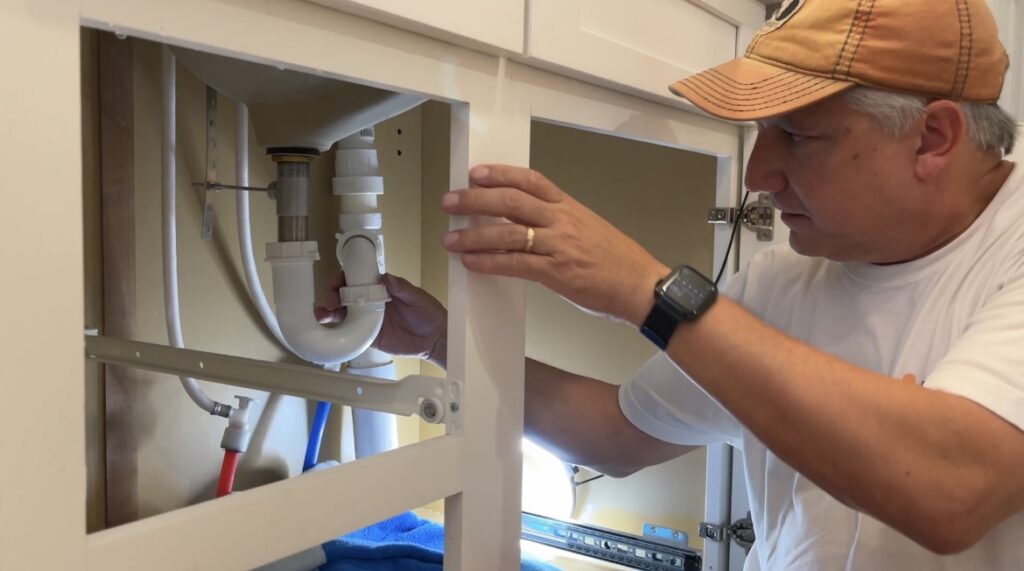
Remove the P-Trap & Drain and Remove any Obstruction:
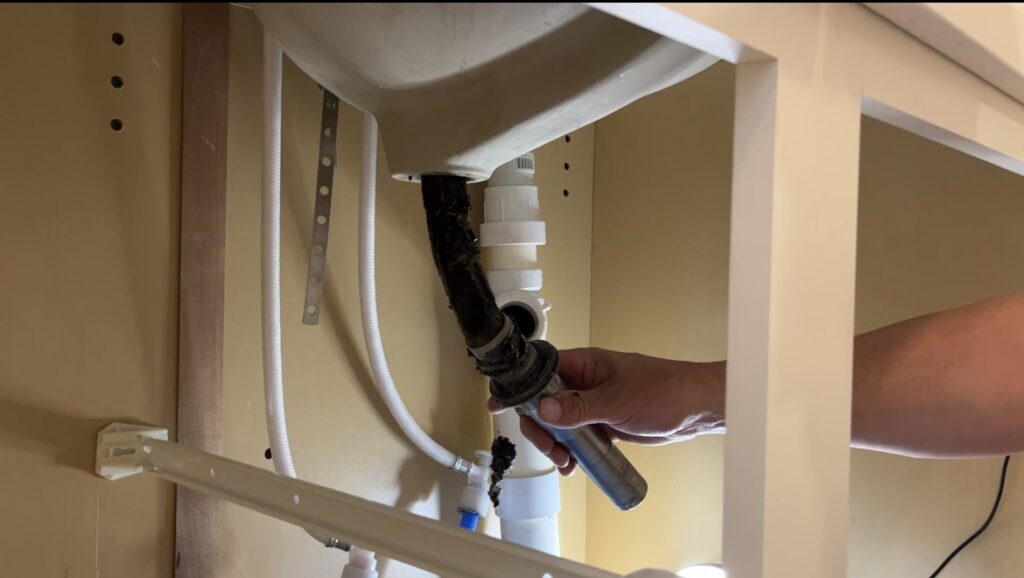
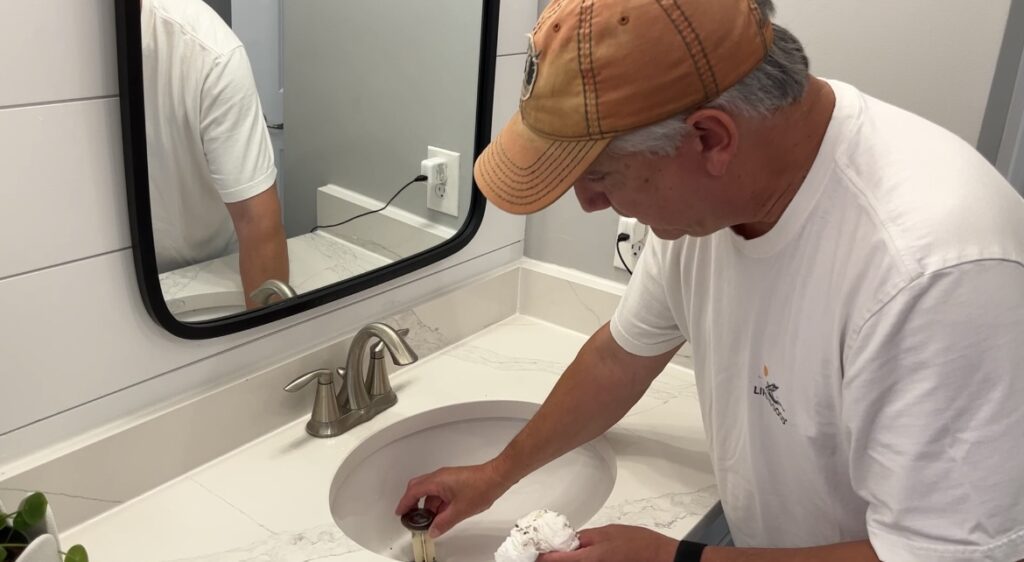
Then disconnect and remove the stopper assembly by unscrewing the vertical drain. You will need to hold the flange in the sink to keep it from turning once the drain is loose. When it is completely unscrewed, pull the drain assembly down. If there is a plug (Like the one in the picture to the right (or bottom if you are on a mobile device) it will be very evident. Clean it out!
Re- Assemble and Check for Leaks.
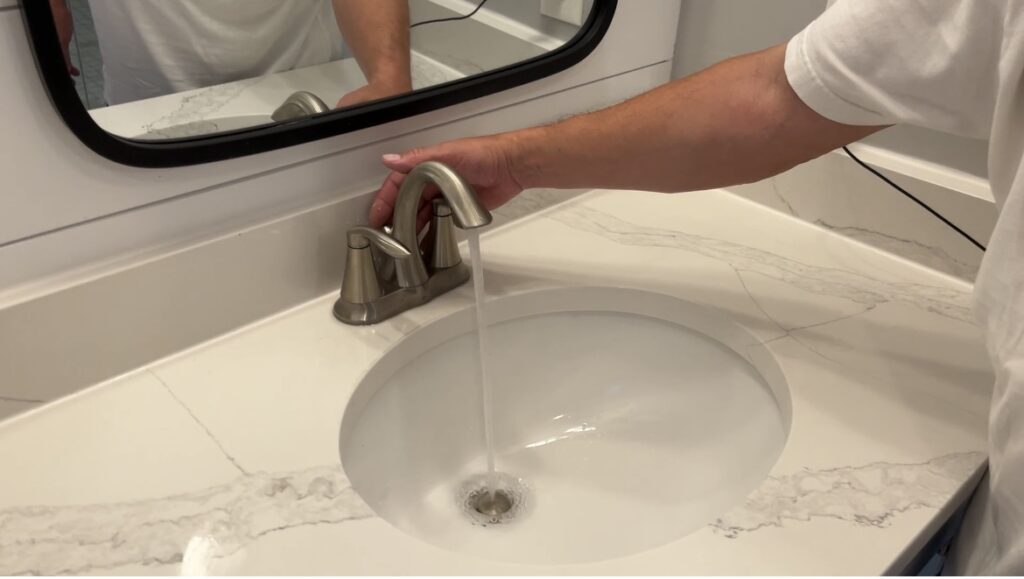
Fill the sink and make sure it’s draining properly, and be sure to check for leaks under the sink!
Congratulations – Sink Fixed!
John and KC

If you have a question or a message for us, enter it here
Otherwise you can post a public comment below – Thanks for visiting

