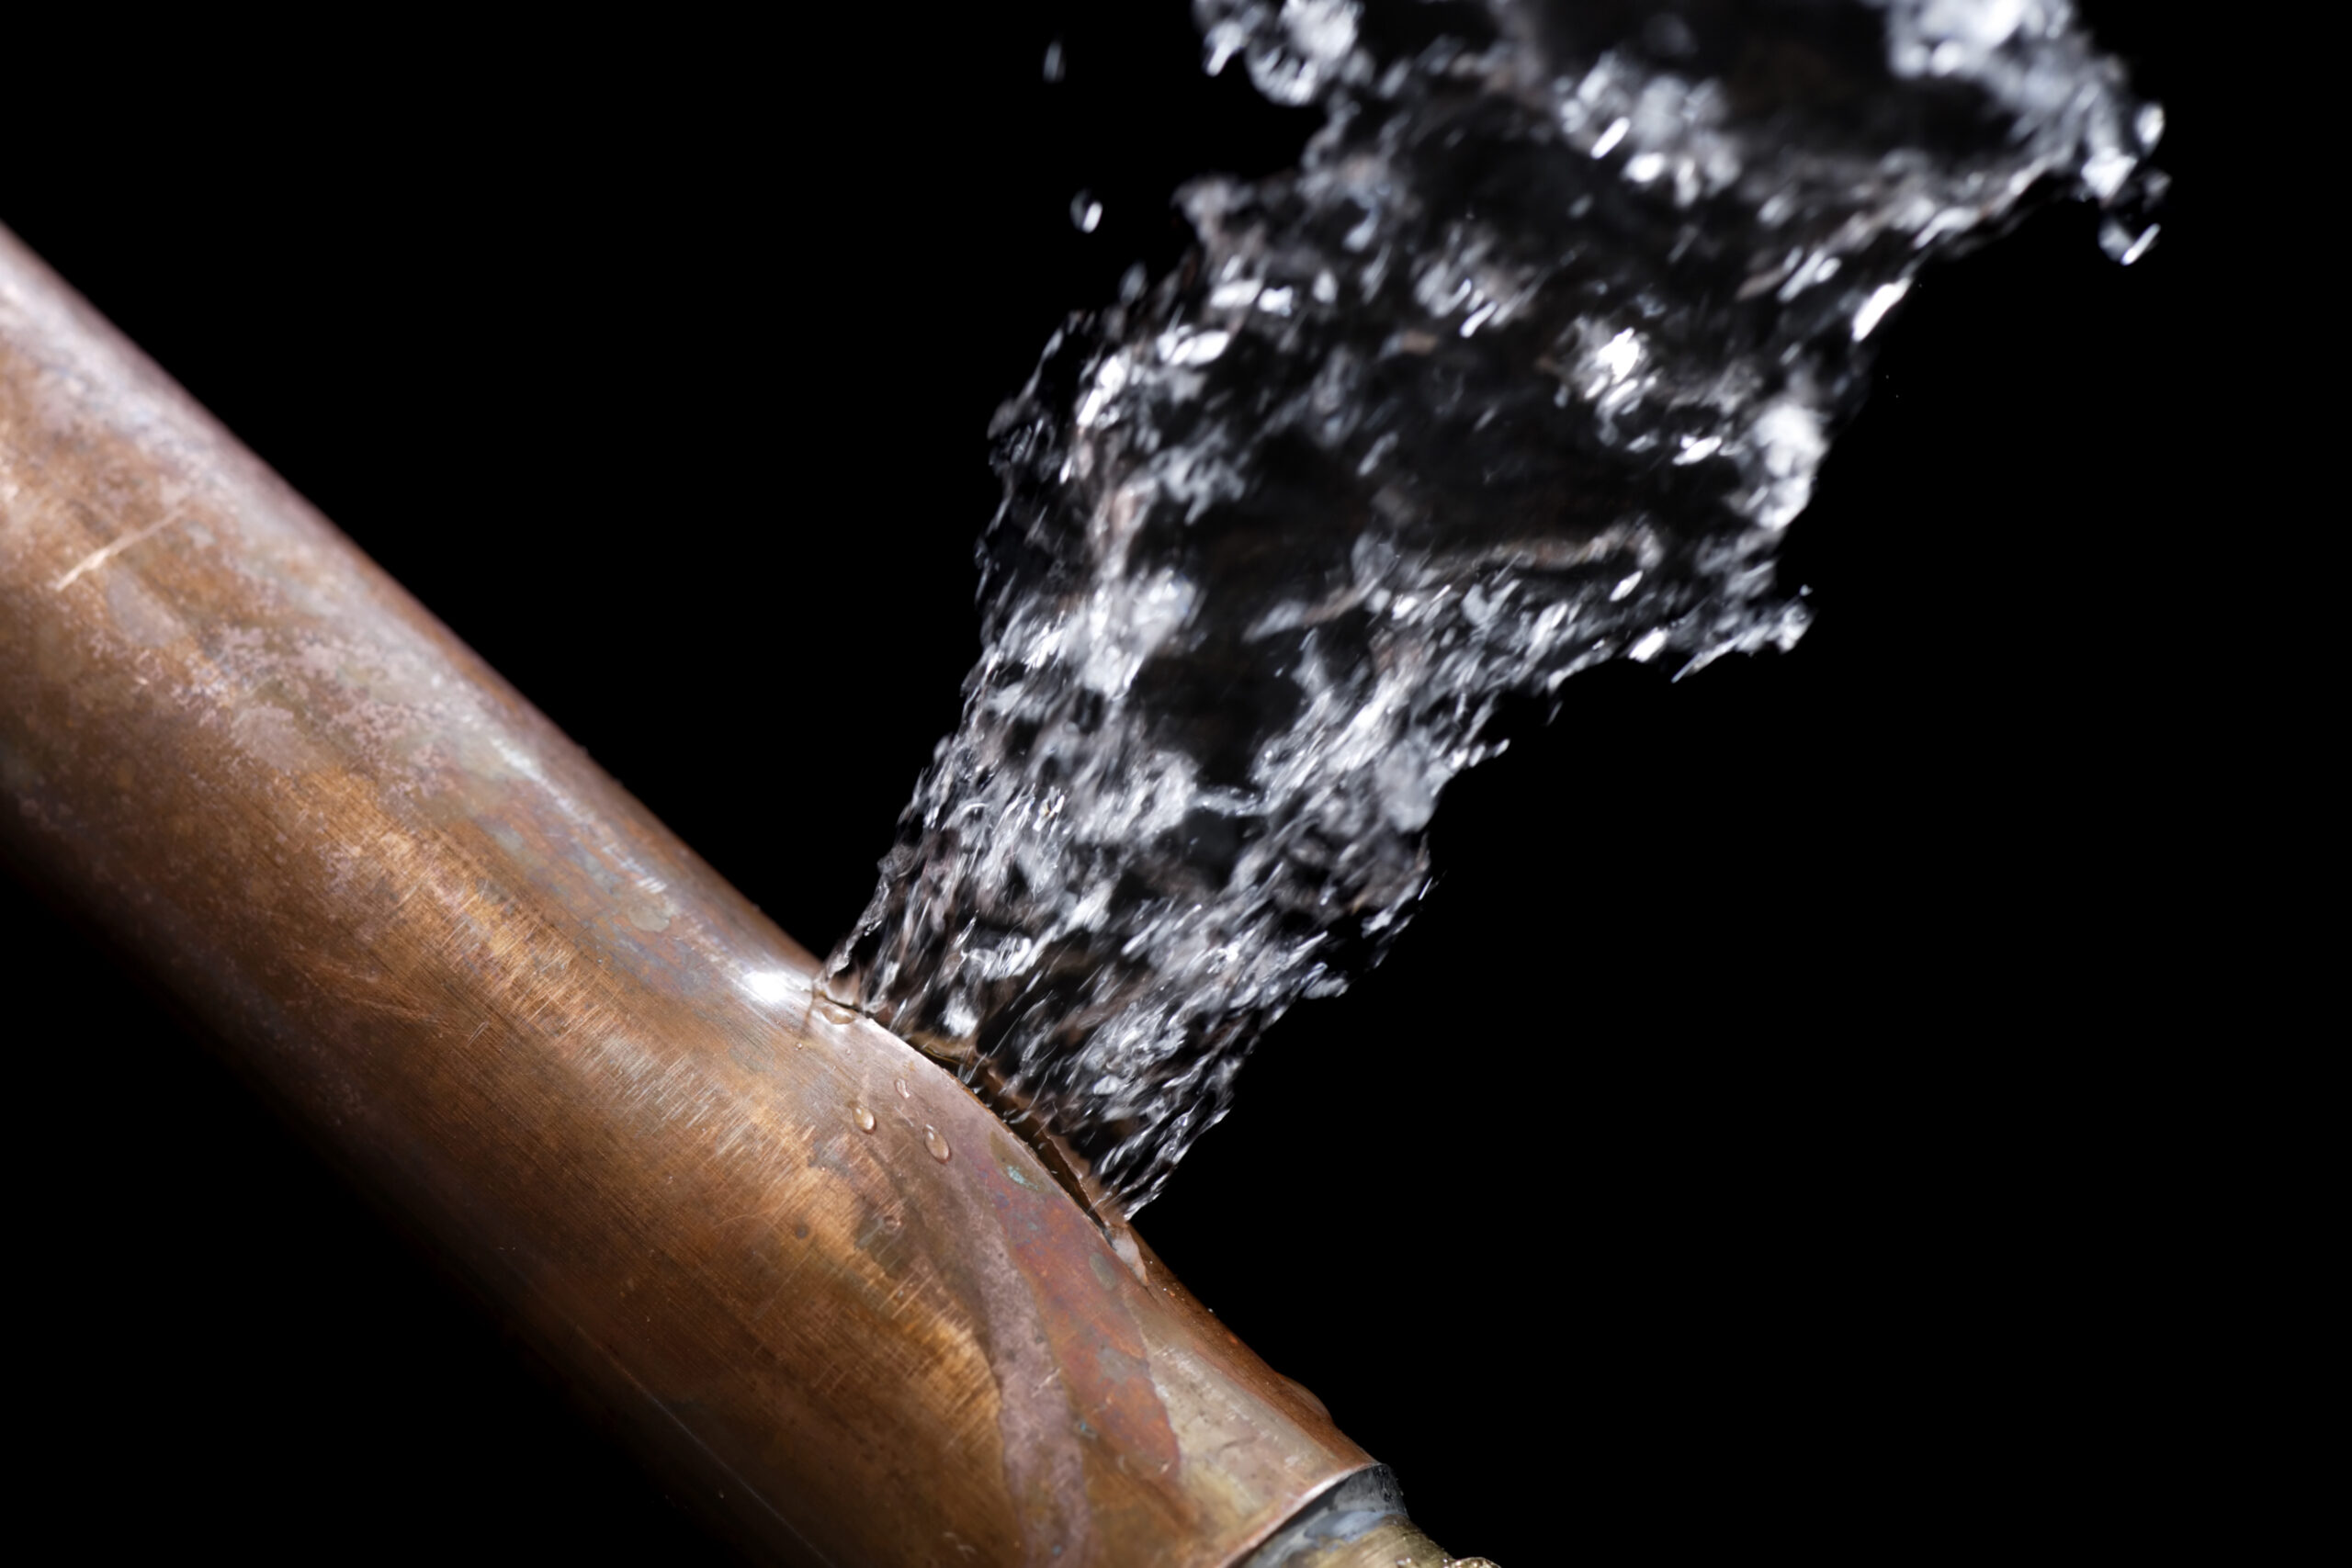
To quickly and safely thaw frozen pipes, start by locating the frozen section and shut off the main water supply. Use a hair dryer, electric heat tape, or a space heater to gently warm the pipe. Avoid using a propane torch unless you’re highly skilled with it. Thawing frozen pipes requires patience and the right technique to prevent damage to your plumbing system.
When winter’s chill sets in, frozen pipes can become a homeowner’s nightmare. Thawing frozen pipes is a task that requires careful attention to prevent damage to your plumbing system. In this guide, we’ll explore effective methods to thaw frozen pipes and prevent them from freezing again. Whether you’re dealing with pipes in a wall or exposed pipes, we’ve got you covered with a few great tips and techniques.
Understanding the Risks of Frozen Pipes
Frozen pipes are more than just an inconvenience; they pose a serious risk to your home. When water freezes, it expands, potentially causing pipes to burst and leading to significant water damage. Identifying frozen pipes early is key to addressing the problem before it escalates.
The type of piping material used in your home plays a crucial role in how pipes respond to freezing temperatures. The most common types of piping are copper and PEX (cross-linked polyethylene).
Copper Piping and Freezing:
Copper pipes, known for their durability and reliability, have been a standard in home plumbing for years. However, when it comes to freezing temperatures, copper pipes are more susceptible to bursting. This is because copper is a rigid material; when water inside a copper pipe freezes and expands, the pipe cannot flex to accommodate the increased volume. This expansion can lead to cracks or even burst pipes, especially at joints and bends where the pressure is highest.
PEX Piping and Freezing:
PEX piping, on the other hand, is a more modern solution and is gaining popularity due to its flexibility and resistance to freezing temperatures. PEX can expand to accommodate the expansion of frozen water, significantly reducing the risk of bursting. This flexibility makes PEX a more forgiving material in freezing conditions. However, it’s important to note that while PEX is more forgiving, it still can burst, and the water inside can still freeze, leading to a temporary loss of water flow and potential damage if not properly insulated. It’s also important to know that if you have frequent freeze ups, PEX pipe bursts become more probable after multiple freeze – thaw cycles.
Comparing Copper and PEX:
While both copper and PEX pipes can freeze, the risk of damage from frozen water is higher with copper pipes due to their rigidity. PEX pipes offer a more freeze-resistant solution, but proper insulation and preventive measures are still essential to protect your plumbing system from the harsh winter temperatures.
Regardless of the type of pipes in your home, taking steps to prevent freezing, such as insulating pipes, sealing drafts, and maintaining a consistent indoor temperature, is crucial for avoiding the costly and inconvenient consequences of frozen pipes.
How to Determine You Have Frozen Pipes
Identifying frozen pipes early is critical to prevent potential damage, and there are several telltale signs to watch for. One of the most common indicators is reduced water pressure or a complete lack of water flow, suggesting a blockage in the pipes due to ice. Additionally, if you notice frost accumulating on the exterior of your pipes, this is a clear sign that the water inside has started to freeze. Another less obvious symptom is unusual sounds, such as gurgling or whistling, when you turn on the faucet. These sounds can occur as water struggles to flow through the ice blockage. Being aware of these signs can help you take timely action to thaw your pipes and avoid serious plumbing issues.
Where Frozen Pipes Typically Occur in the Home
Understanding where pipe freeze ups are most likely to occur can help you take locate the problem and take preventive measures. Typically, frozen pipes are found in areas of the home that are not well insulated or are exposed to cold temperatures. Here are some common locations:
- Exterior Walls: Pipes that run along exterior walls are particularly vulnerable, as these walls often have less insulation compared to the rest of the house. This makes the pipes more susceptible to the cold air outside.
- Basements and Crawl Spaces: Basements and crawl spaces can be significantly colder than the living areas of your home, especially if they are not heated. Pipes in these areas are at a higher risk of freezing, especially if they lack proper insulation.
- Attics and Garages: Like basements, attics and garages are often not part of the central heating system of a home. As a result, pipes located here can easily freeze during cold snaps.
- Under Kitchen and Bathroom Cabinets: Pipes under sinks in kitchens and bathrooms can also freeze, particularly if the cabinets are located against exterior walls. Often, these areas are not exposed to the home’s heating because cabinet doors can block warm air circulation.
- Outdoor Hose Bibs and Sprinkler Systems: Outdoor plumbing, including hose bibs and sprinkler systems, are highly susceptible to freezing temperatures. These should be drained and shut off before the onset of winter to prevent freezing and bursting.
Step-by-Step Guide to Thawing Frozen Pipes
Step 1: Locate the Frozen Pipe
Start by identifying which pipe is frozen. Turn on your faucets; if water doesn’t flow or the pressure is low, trace the plumbing lines to find the frozen section. Pipes running along exterior walls or in unheated spaces are most susceptible to freezing.
Step 2: Shut Off the Water Supply
Before attempting to thaw the pipe, shut off the main water supply to prevent potential flooding if the pipe has burst.
Step 3: Thawing Techniques
Hair Dryer: Use a hair dryer to apply heat to the frozen section of the pipe. Move it back and forth to distribute heat evenly. Don’t use a propane torch, unless you are extremely proficient with one.
Heat Tape: Wrap electric heat tape around the pipe for consistent, gentle warming. Here’s a quick video on how to properly install heat tape:
Space Heater: Position a space heater near the frozen pipe, ensuring it’s set to a moderate temperature to avoid overheating the pipe.
[Image suggestion: Step-by-step images of each thawing technique]
Special Considerations for Pipes in Walls
Thawing pipes in walls, known as how to thaw frozen pipes in a wall], requires a more cautious approach. You may need to increase the overall temperature of your home or use an infrared lamp directed at the wall section covering the frozen pipe. Avoid cutting into the wall unless necessary.
Preventing Frozen Pipes
Taking proactive measures can save you from the hassle of dealing with frozen pipes in the future:
Insulate pipes in cold areas like basements or attics
Keep your home’s temperature consistently warm during cold spells
Seal any drafts near pipes to prevent cold air exposure
[Image suggestion: Infographic on preventing frozen pipes]
When to Call a Professional
If you’re unable to thaw the pipe, or if you discover a leak or burst pipe, it’s time to call a professional plumber. They have the expertise and tools to safely resolve the issue and prevent further damage to your home.
Final Thoughts
Thawing frozen pipes is a delicate task that requires patience and the right approach. By following these steps, you can effectively thaw your pipes and prevent future freezing. Remember, prevention is key, and taking the necessary precautions can save you time and money in the long run.
About Trustworthy Home Advice
At Trustworthy Home Advice, we’re committed to providing you with reliable and practical tips for maintaining your home. For more home essential tips, check out our article on Homeowner Essentials: Must Know Tips for All Homeowners.


