To accurately determine how much paint you need for a project, use our easy-to-use paint calculator (Link Below). Simply measure your room, input the dimensions, and select your paint type and brand. The calculator will estimate the required amount, factoring in the paint’s coverage rate, the number of coats, and the presence of windows and doors. Remember to round up to the nearest gallon for the best results.
Ever stood in the paint aisle, staring at rows upon rows of cans, thinking about your painting project, and feeling utterly lost? You’re not alone. The question – how much paint do I need – haunts many DIY enthusiast and professional painters alike. This has personally driven me crazy for years, so I finally sat down and developed a detailed, very easy to use calculator to definitively answer this question. It’s free for you to use for the low price of just reading this post 🙂
With this calculator, you’ll never over or under-buy paint again. So, whether you’re planning a room makeover or a full-scale property repaint, we’ve got you covered. So read on as we dive deeper into the world of paint estimation, simplifying the process to ensure you get it right, every time.
Usage Calculator
Determining the amount of paint needed for your project is fairly easy with our calculator. You have to measure the room and fill in the blanks below, but you won’t have to do any area calculations and calculate coverage based on the rate the paint brand specifies. Just fill in the blanks on the calculator and it will estimate how much paint you need. The calculator factors in the specific brand used, the type (flat, matte, gloss, etc), application method, coats, and number of windows and doors. I spent quite a bit of time writing the code and gathering the data, and I’ve verified that it is accurate, but remember, it’s only an estimate and as good as the data you feed it. Round up to the next gallon once you get an answer.
CLICKING ON THE CALCULATOR IMAGE BELOW WILL OPEN THE ACTUAL CALCULATOR IN ANOTHER TAB

Calculator assumes painting is being done on primed or pre-painted drywall
Now, if you feel the need to manually calculate how much you need, and “check the calculator”, Let’s discuss how to do this. measure the square footage of the areas you intend to cover. This is achieved by multiplying the length and height of each wall, then adding these results together.
Secondly, consider the type of paint you’re using. Each paint type has a different coverage rate, so check the manufacturer’s can for this figure. (This is automatically determined by the calculator above by selecting the type in a drop down menu). Typically, on average one gallon of paint covers approximately 350-400 square feet with one coat.
Remember, different surfaces may require more or less paint. For example, textured or porous surfaces like brick might need more than a smooth, primed wall. Our calculator assumes smooth primed or previously painted drywall. If you are painting a textured wall, add 20% to your final answer or the calculator’s answer.
It’s also important to factor in the number of coats you plan to apply. Most professionals recommend two coats for the best finish, effectively halving the coverage rate.
To calculate your paint needs:
1. Determine the total square footage.
2. Divide this by the coverage rate of your chosen paint (remembering to account for the number of coats).
This will give you a rough estimate of how much paint you’ll need. However, always buy a little extra to account for any errors or touch-ups needed later.
Lastly, remember that high-quality paints often have better coverage rates, potentially saving you money in the long run. So, while it might be tempting to opt for cheaper options, investing in quality paint can often be the more cost-effective choice.
What type is best?
The type of paint—whether flat, matte, or gloss also influences the amount of paint needed for a project. Flat and matte finishes, known for their non-reflective nature, often require fewer coats to achieve an even coverage, especially on smoother surfaces. In contrast, gloss paints, with their shiny and reflective finish, may necessitate additional coats to achieve a uniform appearance, particularly when covering darker colors or uneven surfaces. This difference is due to the varying levels of pigment and binder in each paint type, affecting their covering capabilities and the total quantity of paint required for optimal results.
Does color affect quantity?
The answer is a resounding yes. Different colors cover surfaces at varying rates. Darker hues, like deep blues and blacks, typically require more coats to achieve a solid, even finish, thus increasing the quantity needed.
On the other hand, lighter shades such as whites and pastels often provide better coverage with fewer coats, reducing the amount of paint required. This is largely due to the paint’s opacity and the pigments used in its formulation. Darker colors contain more pigment, which can affect the paint’s ability to cover a surface thoroughly.
The type of surface you’re painting also plays a significant role in determining how much paint you’ll need. Porous surfaces like drywall or wood tend to absorb more paint, especially when using darker colors.
Remember, the key to a successful painting project is preparation. Knowing the impact of color on paint quantity can save you from multiple trips to the paint store and ensure a smoother, more efficient painting process.
How do I calculate ceilings?
Calculating the amount of paint needed for ceilings involves a few simple steps. Firstly, measure the length and width of your ceiling to determine its total square footage. Once you have the square footage, it’s time to consider how many coats of paint you plan to apply.
- Measure the ceiling area (length x width)
- Estimate the number of coats needed
- Calculate the total amount of paint
It’s always better to buy a little extra paint than to run out midway through your project. Most paint stores can help you with these calculations and offer advice on the best type of paint for your ceiling.
Keep in mind that preparation is key. Before you start painting, ensure the ceiling is clean and free of dust or cobwebs. Use painter’s tape to protect wall edges and light fixtures. With the right preparation and accurate calculations, your ceiling painting project will be a success.
Does paint brand affect coverage?
Yes, absolutely, different paint brands offer varying levels of coverage, which can significantly affect the amount of paint required.
We have always been a fan of Benjamin Moore products based on many painting projects. Our preference started after we had our entire home painted by a high end professional painter, Prestige Painting near Lancaster, PA. If you live in the eastern PA area, and are in the market for a professional painter, I highly recommend these guys, there is no one better. This is my opinion based on first hand experience from multiple projects they have done for us.
Premium brands like Benjamin Moore, Sherwin Williams and BEHR often have higher pigment concentrations, providing more coverage per gallon compared to budget brands. These high-quality paints may be more expensive upfront, but you’ll likely need less paint overall, making them cost-effective and they last longer.
How does surface texture impact paint quantity?
When planning a paint job, the texture of the surface is a major factor in determining how much paint you’ll need. Rough and porous surfaces like stucco or brick can absorb more paint, requiring a greater quantity to achieve full coverage. Smooth surfaces, such as drywall or wood, typically require less paint, as they don’t have as many nooks and crannies for paint to seep into.
- Surface Texture: A rough surface has more surface area than a smooth one of the same size. This means it will require more paint to cover completely.
Can I save leftover paint?
Absolutely, leftover paint can be saved and reused for future projects. It’s a common situation to find yourself with excess paint after completing a painting job. By properly storing your leftover paint, you can extend its shelf life and reduce waste.
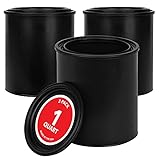
However, I do not recommend storing paint in the metal can it comes in, especially if it will be stored for years. Cans tend to rust, no matter how much you try prevent it, and when you open the paint in a few years, rust particles from the can may ruin the leftover paint. We always use plastic paint buckets that you can pick up on Amazon for a few bucks. These are well worth it, when you open your leftover paint in a few years to do some touch ups, it will be like new.
1-Quart Plastic Paint Bucket (3 Pack) – Triple Lock Airtight Seal
Secondly, store the paint in a cool, dry place and don’t let them freeze. Extreme temperatures can affect the paint’s consistency and color. A basement or a utility room is usually a good choice.
Additionally, it’s helpful to label the can with the color code and the room it was used for. This makes it easier to match the paint for touch-ups or future projects.
Proper storage can keep leftover paint in good condition for up to 10 years. However, always check the paint before using it. If it has a foul odor or lumps, it’s better to dispose of it.
Remember, saving leftover paint is not just economical but also environmentally friendly. It reduces the need for new paint production, thus conserving resources.
What tools do I need?
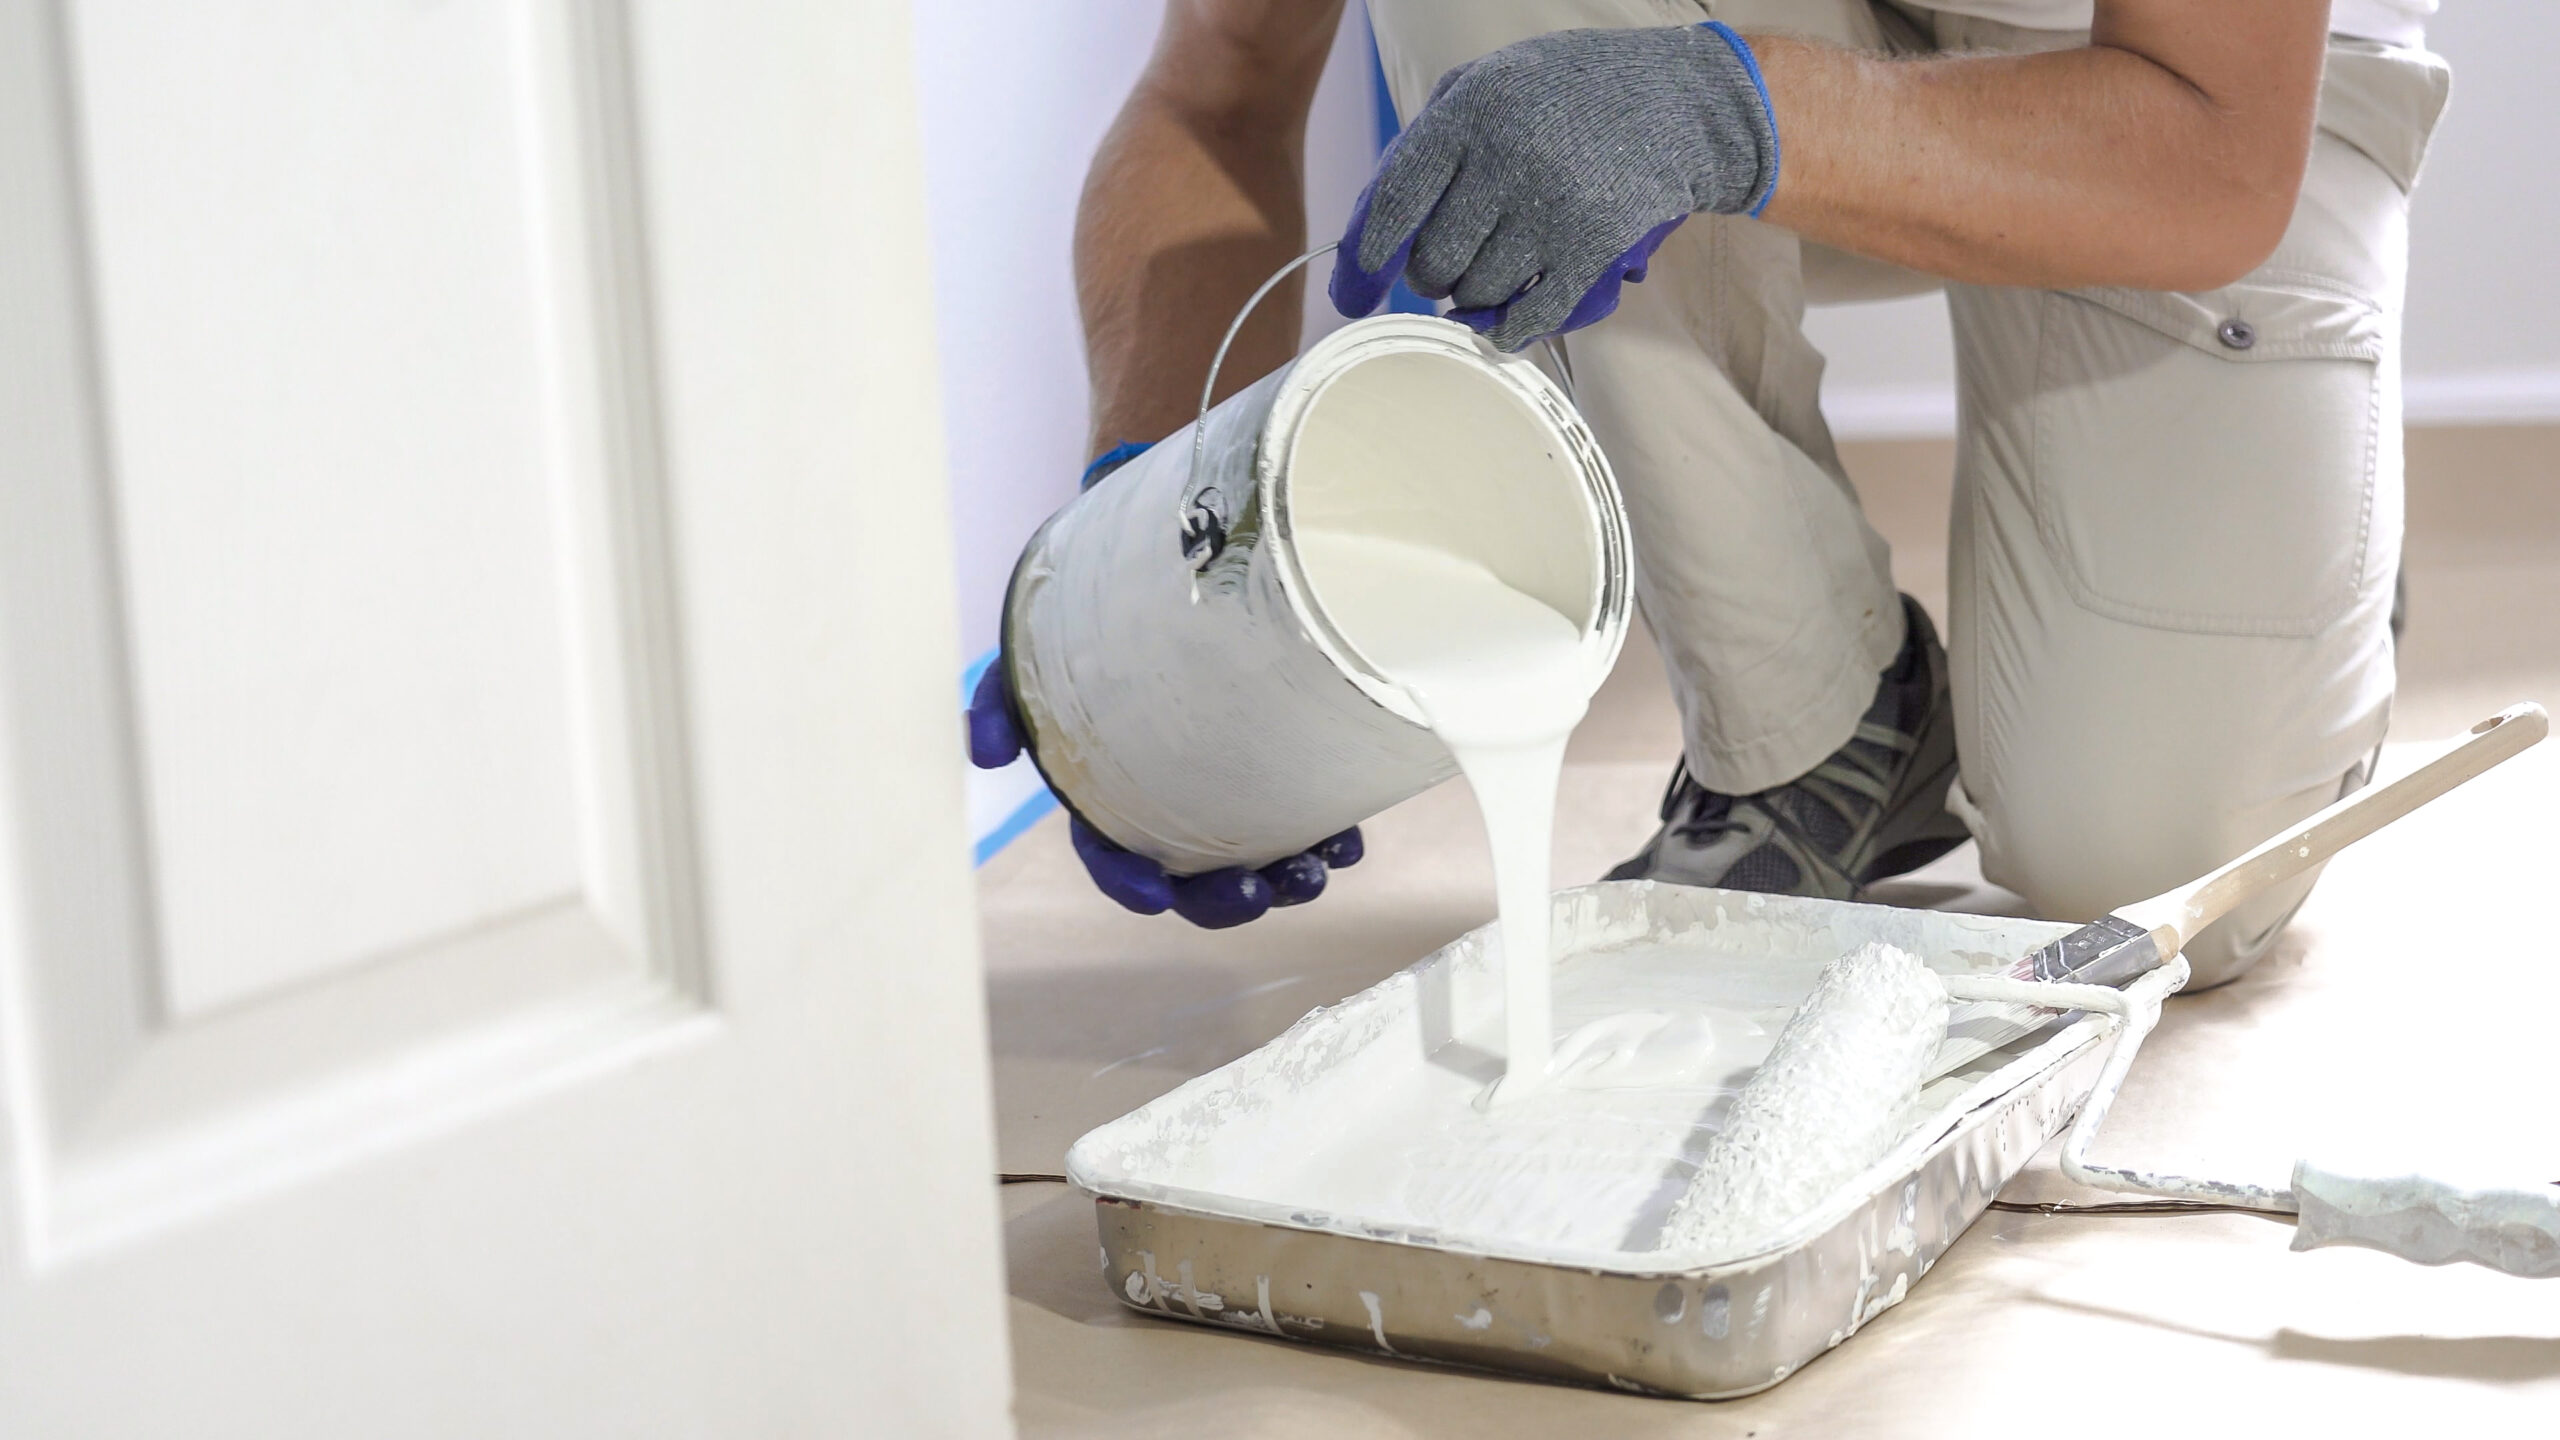
To embark on a painting project, you’ll need to gather a few essential tools. Our paint calculator is one of the most critical tools you could use to determine how much paint you need. This tool helps in avoiding over or under purchasing of paint, but remember, it’s only an estimate.
Next, you’ll need high quality paintbrushes and good rollers. The brush is used to cut in corners and edges, while the roller covers large wall areas. The size of the paintbrush and roller depend on the surface area you’re painting.
A paint tray is used to hold your paint. It’s designed to easily load paint onto your roller or brush. A paint can opener and a stir stick are also necessary. The opener will help you open the paint can without damaging the lid, while the stir stick will ensure the paint is well mixed.
For protection, you’ll need drop cloths to protect your floors and furniture from paint splatters. Painter’s tape is used to protect areas you don’t want to paint, like window frames and door edges.
Lastly, a ladder or a step stool may be needed depending on the height of the area you’re painting. This will ensure you can comfortably reach all areas without straining.
Remember, each painting project is unique, and the tools required may vary based on the specifics of your project. However, these tools are generally a good starting point for any painting endeavor.
Final Thoughts
Answering the question ‘how much paint do I need’ requires a multi-faceted approach, as many factors are in play. The type of paint chosen can significantly influence the quantity required, with some offering better coverage than others. The color of the paint also plays a role in determining the amount needed, as darker shades often require more coats for full coverage.
Calculating paint for ceilings and walls involves taking accurate measurements of your space and understanding the coverage capacity of your chosen paint brand. It’s also important to consider the surface texture, as rough or uneven surfaces can absorb more paint, thereby increasing the amount needed.
Remember, leftover paint can be stored for future touch-ups, so don’t discard it immediately. Having the right painting tools can also make the process more efficient and ensure you use your paint effectively.
This is on of the many useful knowledge tips all homeowners should have. Check out our post on Homeowner Essentials: Must Know Tips for all Homeowners