
")

Introduction:
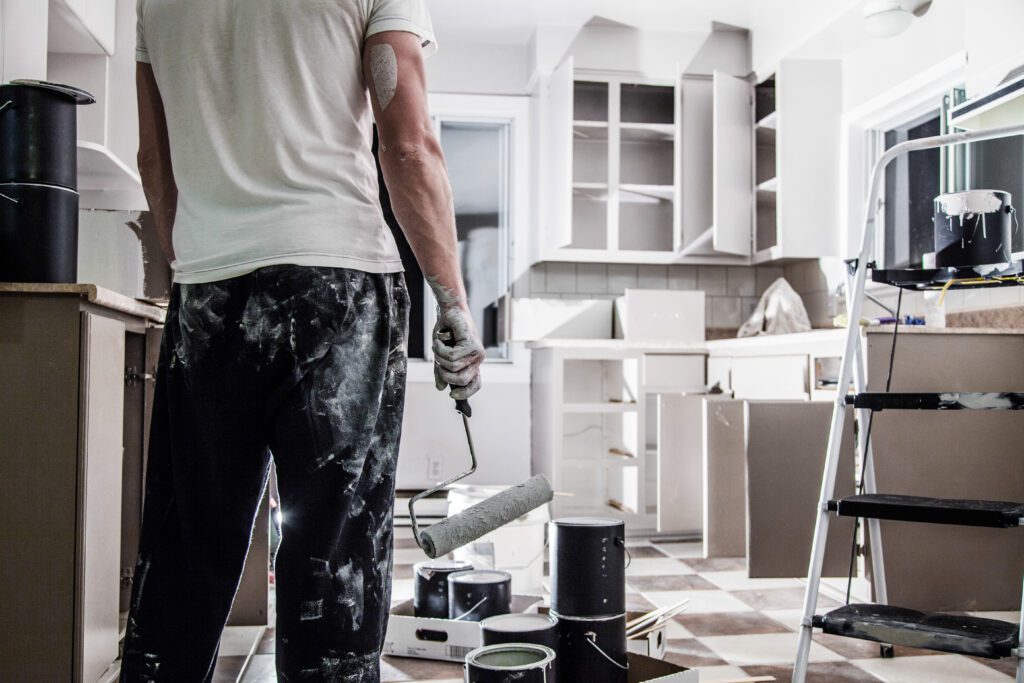
Painting cabinets has become a very popular way to spice up a dreary outdated kitchen. Knowing how to paint kitchen cabinets is a skill all homeowners should know! Certainly much less expensive than installing new cabinets, and it’s a project that most DIY’ers can tackle that can have significant ROI as it’s all sweat equity. Remodeling or updating your kitchen is one of the best ways to add value to your property, especially if you are thinking about selling your home.
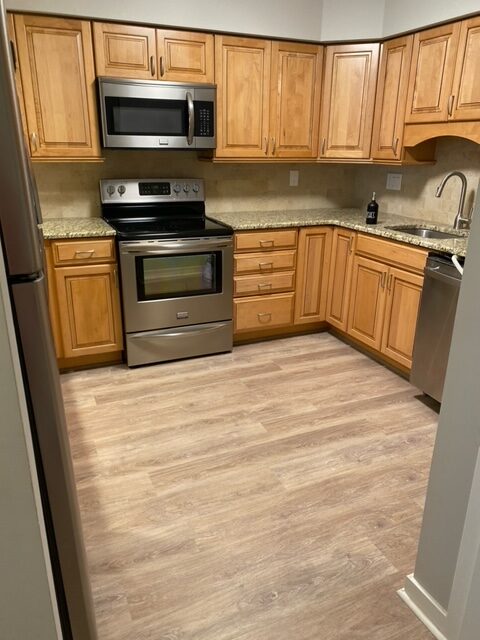
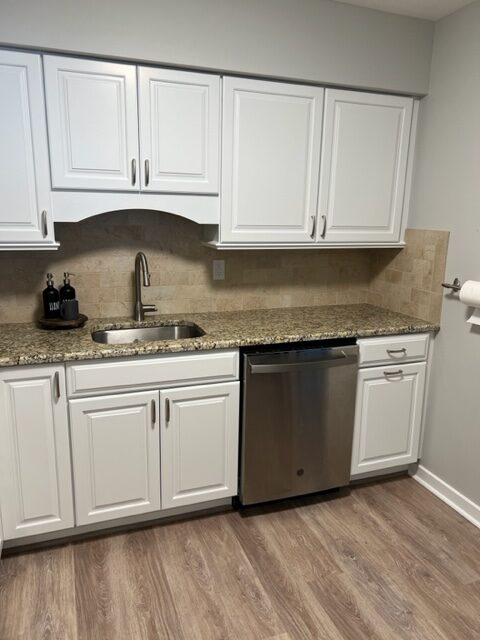
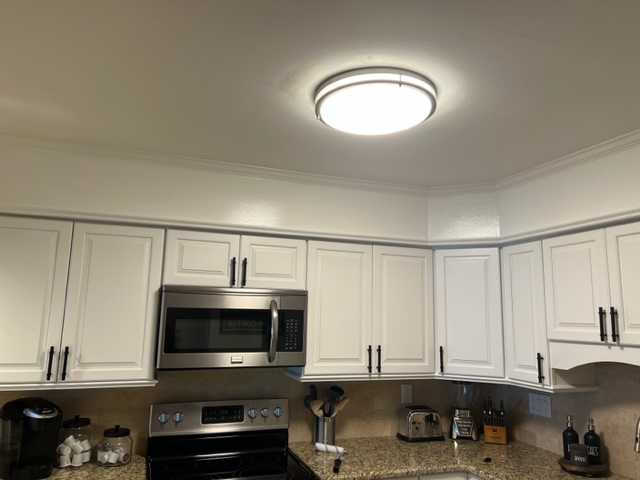
We recently completed this project at our shore house, unfortunately, I didn’t take dedicated before and after photos with the intent of using them in a blog post, so we don’t have exact side by sides, but we do have before and after pictures of the kitchen taken for other purposes. The first picture on the left is the before and the middle is the base cabinets after the cabinets were painted. The picture on the right was taken after I decided to add some trim and paint to the upper soffit, using an old decorator’s trick to fool the eye, giving the appearance that the cabinets go all the way to the ceiling, which is a more contemporary finish.
Remove and Label Your Doors and Drawer fronts!
Pro tip on how to paint kitchen cabinets! Before you remove your doors, make sure you label them in a way that you will be able to easily identify exactly which cabinet position they came from. We numbered the doors using painters tape, placing the label in the hinge bore after the adjustable hardware was removed. This simple step will make re-installing them much easier and save time. It may be tempting to think you’ll be able to put them back where they go by matching the size of the door with the size of the base cabinet, but in a typical kitchen there are 30, 40 or 50+ doors and drawer fronts of varying sizes, this can be much more problematic than it may seem.
Label Hardware and Hardware locations (Optional).
This is optional, however, taking the time to label your individual hinges and even door/drawer handles will make replacing them much easier. Since all of the hinges in our project were identical, I didn’t do this, but after replacing the first few doors, I wished I did. Most cabinet hinges are adjustable, when the doors were originally installed, the installer had to make minor adjustments to align the doors. Since I just replaced the hinges randomly, I had to make minor adjustments on almost every cabinet door. It didn’t take long, but a few minutes for 30+ doors adds up. If I had I put the hinges back in the original locations with the exact doors, I would have saved about 2 hours so on the replacement step.
Degrease the Doors and Base Cabinets
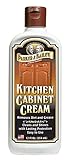
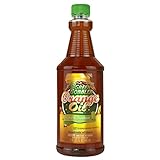
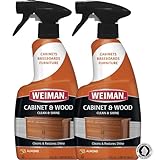
This is not optional. Since kitchen cabinets are located where you cook, they will have a thin layer of grease buildup that must be removed. Even if you are a clean freak, this buildup will slowly happen over time, and it will not be visible. Read our review on the Best Degreasers For Kitchen Cabinets, here’s a summary of our Research.
If you can’t see the entire table – rotate your mobile device
| OVERALL BEST | RUNNER UP | BEST FOR CONDITIONING AND GLOSSY FINISH | BEST QUICK AND EASY SOLUTION FOR MESSES | BEST ALL-NATURAL SOLUTION |
|---|---|---|---|---|
| Krud Kutter | Parker & Bailey | MiracleWipes | Green Gobbler | Weiman Furniture |
 |
 |
 |
 |
 |
| Check Price on Amazon | Check Price on Amazon | Check Price on Amazon | Check Price on Amazon | Check Price on Amazon |
Lightly Sand the Doors and Base Cabinets:
Most professionals who know how to paint kitchen cabinets will do a light sanding with a 220 grit sanding block or sponge. Make sure you sand thoroughly getting into the groves and corners. If the cabinets are stained, you should sand until you see a white haze on the surfaces to be painted. This is the polyurethane dust that the cabinets were coated with. If the cabinets are painted, just make sure you sand thoroughly sand to avoid premature failure of the paint your about to apply.
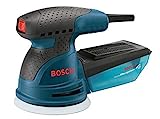
The sanding can be done by hand, however, if you want to use a power sander it will save a lot of time. Sanding kitchen cabinets is the same in many ways to re-finishing furniture, take a look at my article on “The Best Sanders for Furniture“. Detail sanders or random orbital sanders are great for cabinet work. Here’s a summary of our sander review:
Best Sanders For Furniture
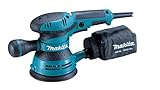
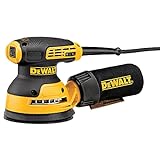
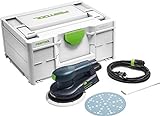
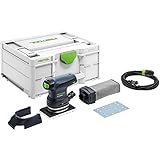
| OVERALL BEST | RUNNER UP | HONORABLE MENTION | BEST DUAL FUNCTION | BEST FOR EDGE DETAIL |
| Bosch ROS20VSC | Makita BO5041 | DEWALT Random | Festool ETS | Festool RTS |
 |
 |
 |
 |
 |
Use a Tack Cloth to Remove Sanding Residue:
Use a quality tack cloth to get all of the sanding dust off of the surface. Don’t use any cleaners at this point or a wet paper towel or even try to vacuum the dust off.
Use a Quality Water Based Primer:
Roll on a base coat of a quality water based bonding primer such as Zinsser Bullseye or Kilz. However, also use a brush to make sure you get into all of the corners and small areas to ensure you don’t create a failure point for your paint.
What Paint Should You Use!
OK, Finally, what Paint to use. I can personally recommend the Benjamin Moore Advance INSL-X Cabinet Coat. Simply a fantastic Product used by professionals quite often. I was completely impressed with it’s self leveling capabilities as well as how well it covered the drywall on the soffit above my cabinets. The other 4 recommendations are also great choices. I don’t think you can go wrong with any of these products, but my recommendation s the INSL-X!
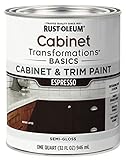
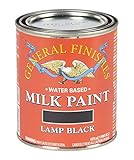
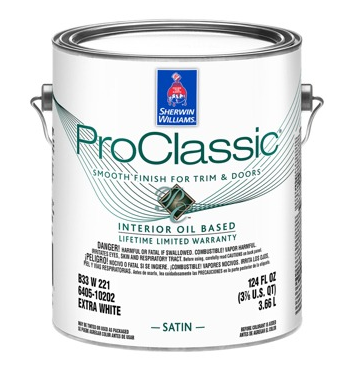
| OVERALL BEST | RUNNER UP | BEST FOR DURABILITY AND VERSATILITY | BEST BUDGET-FRIENDLY OPTION | MOST USER-FRIENDLY FOR DIY PROJECTS |
|---|---|---|---|---|
| Benjamin Moore Advance | Rust-Oleum Cabinet Transformations | Behr Alkyd Semi-Gloss Enamel | General Finishes Milk Paint | Sherwin Williams ProClassic Alkyd Interior Enamel |
 |
 |
 |
 |
 |
| Check Price on Amazon | Check Price on Amazon | Check Price at Home Depot | Check Price on Amazon | Check Price at Sherwin Williams |
You’ll want to apply 2 Coats! Use a 4” foam roller, letting dry between coats, rolling on 2 coats of one of these products listed above. Use a high quality brush to get in the corners and nooks. Most of these paints have been formulated with a self-leveling compound, so with a good foam roller, you and a high quality brush, you should get a factory type finish on your newly painted cabinets.
As Always, make sure to follow the manufacturers directions on the can to get the best results.
Take the time to complete all of the steps, reinstall your doors and enjoy your almost “brand new” kitchen.